Overview:
Maintaining your car is important, and maintenance is a simple task such as an oil change, which may seem daunting. However, changing your car oil can be more convenient and much less expensive than taking your car to an oil express lube shop. In this article, we will show you six easy steps to change your car oil.
If you are unsure about what kind of car oil will suit your car and how often you should change it. You should refer to the service section of your car’s owner’s manual. This easy six steps guide will mainly focus on and walk you through a standard oil change.
To start this process you have to consult your Automotive user manual to determine how much oil you need to replace from your car oil change. Also, you will need an Oil filter in this process.
Step 1: Jack up your car

In the first step, you will have to lift your car high enough to give yourself good room to work under the car. To do this you can use a hoist, jack stands, or ramp, just make sure that you are being safe.
Important: Never work under a car that is held up by a floor jack. We always raised our vehicles on the lift in the car and driver test garage, so you could see what we were doing.
Luxurious and wonderful cars are lifted with a plastic undertray to improve aerodynamics and protect components on the underside of the vehicle’s engine.
To access the oil pan and oil filter, the plastic cover under the needs to be removed. Most of the undertray is attached with a mixture of Bolts, screws, and plastic clips. Before moving towards step 2 make sure to examine if the oil leaks from any area. If you find any oil leakage, consider having your car inspected by a mechanic.
Step 2: Unplug the oil and drain the car oil
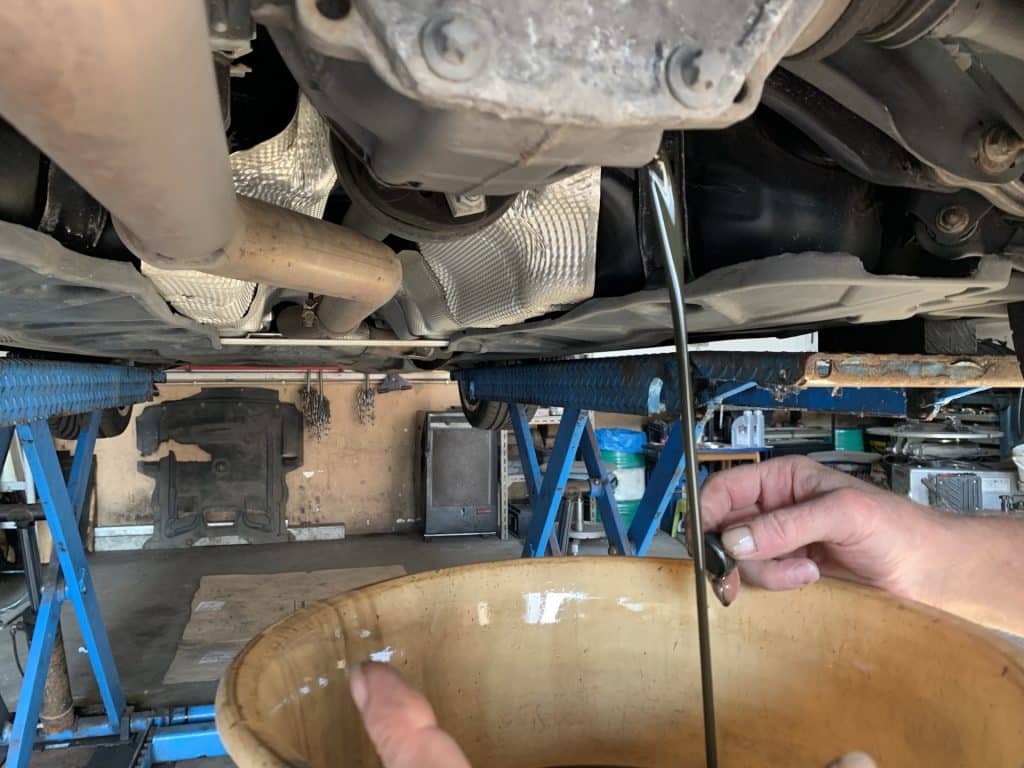
Place a five-gallon bucket, an oil reservoir, an oil drain pan, or any other suitable liquid-holding container under the car. So, that the oil will drain into it without getting all over the ground. Otherwise, this will make a mess.
Always remember that there will be a lot of car oil, as most of the vehicles have a minimum of one gallon of oil in their crankcase. Then remove the drain plug by simply loosening it with a wrench and unscrewing it. The entire vehicle’s engine drains for four to five minutes or until the flow of oil has slowed to a trickle.
Step 3: Takeoff an old Oil filter

Find the oil filter; it is a softball-sized cylindrical component that is screwed onto the engine. By using your hands or Oil-filter wrench loosen the oil filter enough so the oil starts coming out from the top and dripping into your receptacle.
Before installing the vehicle’s new oil filter, make sure to verify that the old oil filter gasket (thin rubber O-ring) was not left behind.
Important: If the gasket is not removed then the new oil filter will not fit properly. This will end with all of your new, fresh car oil leakage on the ground.
Although! It is a good practice to wipe down oil-covered surfaces before replacing the drain plug and the oil filter.
Step 4: Drain plug in and Filter On:

Replace the drain plug after the oil change and tighten it until the drain plug snugs. But don’t tighten it too much. Over-tightening the drain plug can damage the oil pan or the drain plug. Some of the manufacturers have torque specs that you can follow, by using a torque wrench.
Most of the vehicles use a washer behind the drain plug. Which must need to be replaced when you reinstall the plug of the vehicle. In the next step, take your oil filter and apply a little amount of oil all around the top of the filter. Doing this you will easily create a proper seal as you tighten the oil filter. And the same rule applies to reinstalling the filter don’t screw too hard. Just turn the oil filter until its hand is tight and a bit more.
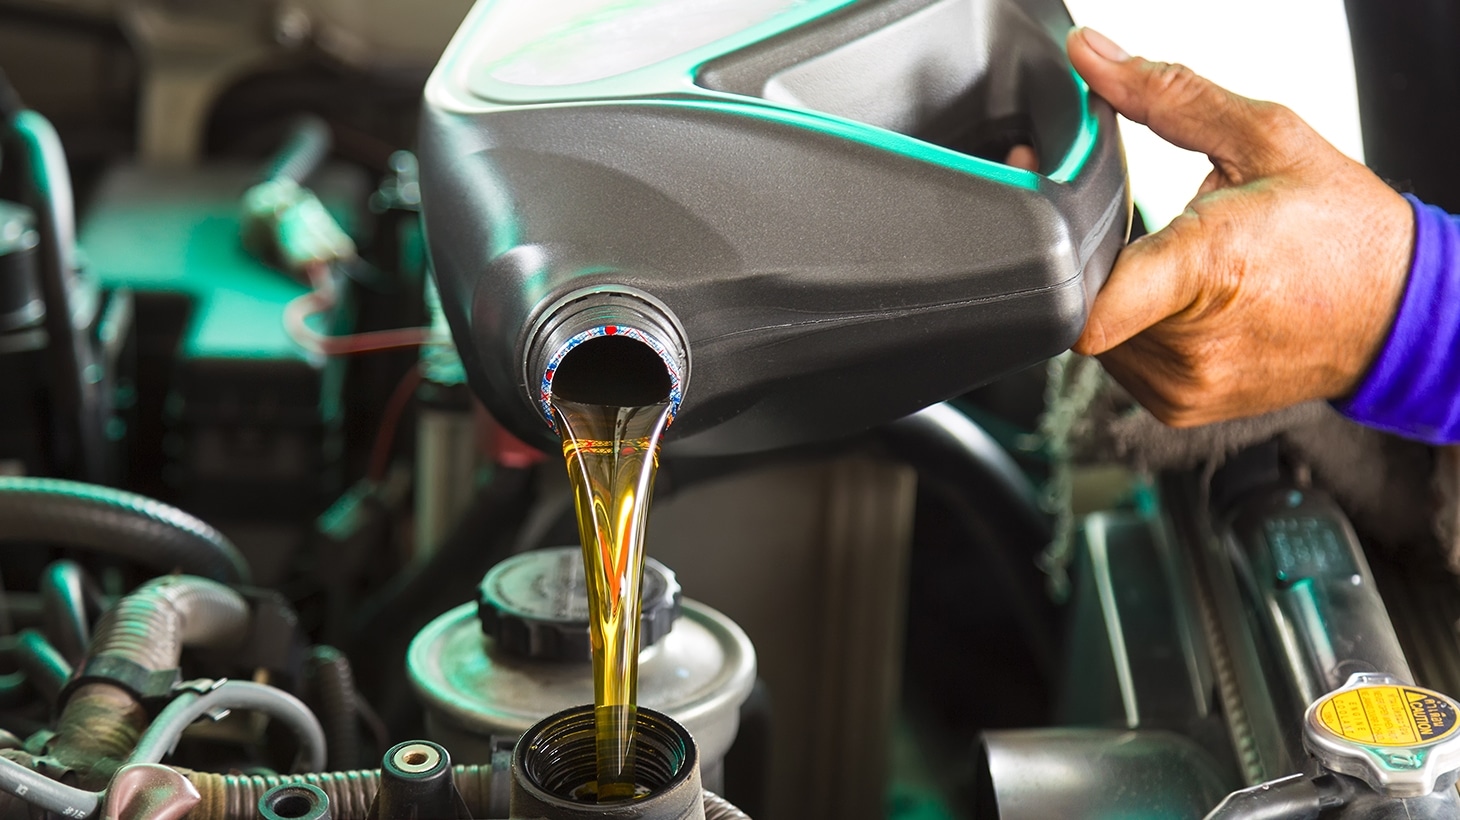
Step 5: Fill it up with the oil

After reinstalling the drain plug and oil filter, simply reinstall your undertray and lower your car back to the ground. Open the hood of your car and remove the cap. The Cap will have an Oil-can symbol on it. By using a funnel, your vehicle’s engine with the manufactured recommended volume of Oil.


Step 6: Check for Oil Level, Check for Leakage

Waiting for some time for the oil to settle down into the pan. Simply sing the dipstick to verify that your car oil is at the proper level. Checking the car oil is simple, fill the dipstick out from its tube. Wipe away all the oil with a paper towel, reinsert the dipstick, and confirm that the oil is lined up.
Start the vehicle and let the vehicle warm up. Again check for leaks under the vehicle and all around the vehicle’s oil filter.
Congratulations! You have successfully changed your car oil and have saved a bunch of money.
You might also like: Top 7 DIY Methods To Remove Car Dent


